Call Us -
Cart
0
A nebulizer only helps when it stays clean. If moisture and medication residue sit in the cup, tubing area, or mouthpiece, bacteria and mold can build up faster than many people realize. That is why knowing how to clean a nebulizer is part of the treatment itself, not an extra chore.
For home users, caregivers, and clinic staff, the goal is simple: keep every treatment as safe and effective as possible. The exact steps can vary a little by manufacturer and by nebulizer type, but the core routine stays the same. Clean it after each use, disinfect it on schedule, and replace parts when they show wear.
How to clean a nebulizer after each use
The most important cleaning happens right after the treatment ends. Dried medication is harder to remove, and leftover moisture creates the conditions germs like.
Start by washing your hands well with soap and water. Then unplug the machine and disconnect the nebulizer parts. In most setups, that means separating the medication cup, mouthpiece or mask, and tubing from the compressor. Do not wash the compressor unit itself in water. The tubing often has different care instructions than the cup and mouthpiece, so check your product manual before rinsing it.
Empty any leftover medication from the nebulizer cup. If medicine remains after a treatment, it should usually be discarded rather than saved for later, unless your healthcare provider or medication instructions say otherwise. Once the cup is empty, rinse the washable parts with warm running water.
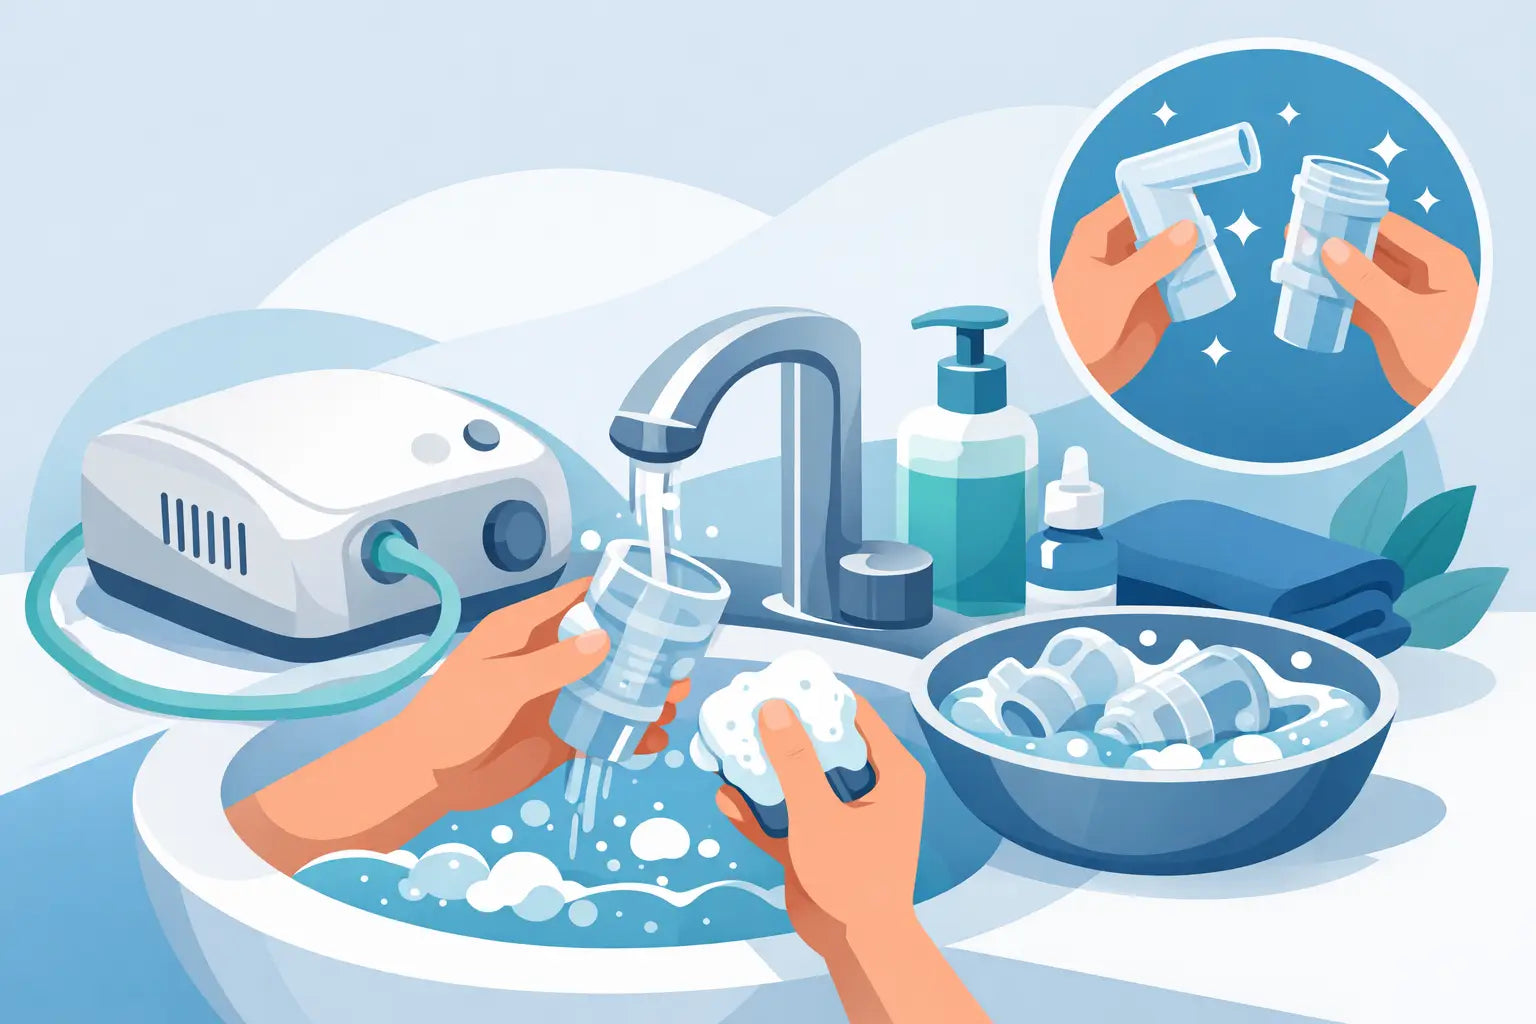
Next, wash the medication cup and mouthpiece or mask with warm water and a mild dish soap. A clean bowl or basin works well if you do not want to wash them directly in the sink. Gently move the parts through the soapy water and make sure visible residue is removed. Avoid harsh cleaners, scented products, or abrasive scrubbers that can damage plastic surfaces.
After washing, rinse everything thoroughly with clean water. Soap left behind can irritate airways or interfere with the next treatment. Shake off excess water, then place the parts on a clean, lint-free towel or paper towel to air dry. If your manufacturer allows it, you can also reconnect the parts and run the compressor briefly to help dry the nebulizer cup. The key is to let the parts dry completely before storing them.
What not to do when cleaning a nebulizer
A few common mistakes can shorten the life of the equipment or create hygiene problems.
Do not put the compressor in water. This part contains electrical components and should usually be wiped down only with a clean damp cloth when needed. Do not use boiling water unless your manufacturer specifically says it is safe for your model. Some nebulizer parts can warp under high heat, and once that happens, the medication mist may not form correctly.
It is also best not to towel-dry the inside of the cup or mouthpiece with a reused kitchen towel. Even if it looks clean, it can transfer lint or bacteria. Air drying on a clean surface is usually the safer choice.
Another issue is storing damp parts in a sealed bag or drawer. Trapped moisture can encourage contamination. Let the pieces dry first, then store them in a clean, dry place.
How to disinfect a nebulizer
Daily washing removes residue, but it is not always enough on its own. Disinfection gives added protection by reducing germs on the parts that come into contact with medication and the user.
Many manufacturers recommend disinfecting the nebulizer cup and mouthpiece or mask at least once a day for frequent home use, or after each use in some higher-risk situations. For some households, a few times per week may be acceptable if the product instructions allow it. This is one of those areas where it depends on the device, the patient’s health status, and the guidance provided with the equipment.
One common method is soaking the washable parts in a solution recommended by the manufacturer. Some devices allow a mixture of white vinegar and water, while others call for a medical equipment disinfectant or a specific cleaning process. Because materials differ, the safest approach is to follow the product instructions exactly.
If a vinegar solution is approved, a common ratio is one part white vinegar to three parts water. Soak the nebulizer cup and mouthpiece or mask for the amount of time listed by the manufacturer, then rinse thoroughly with sterile water, distilled water, or clean water if that is what the instructions permit. After rinsing, place the parts on a clean surface and let them air dry completely.
Tubing is different. Many nebulizer tubing sets are not meant to be washed or soaked. If moisture gets trapped inside, it can become cloudy or contaminated. If your tubing has visible condensation, discoloration, or residue, it may need to be replaced rather than cleaned.
How often should you replace nebulizer parts?
Cleaning helps, but it does not make parts last forever. Plastic cups, masks, mouthpieces, filters, and tubing all wear down over time. Small cracks, cloudiness, stiffness, or poor fit can affect performance.
If a nebulizer suddenly takes longer to deliver medication, produces less mist, or sounds different during use, wear may be the problem. A dirty air filter or aging medication cup can reduce output. For people who rely on regular breathing treatments, replacing disposable or semi-disposable parts on schedule is just as important as cleaning them.
Manufacturer guidance matters here, but many users benefit from checking the kit every few weeks. For households managing chronic respiratory conditions, it is smart to keep backup supplies on hand so treatment is not delayed when a part needs to be changed.
How to clean a nebulizer in a busy home or care setting
The challenge is not usually learning the steps. The challenge is doing them consistently when schedules are full.
For families caring for a child or older adult, it helps to build cleaning into the treatment routine. Wash the parts immediately after each session instead of setting them aside for later. If several people are involved in care, keep the instructions near the machine so everyone follows the same process.
In a clinic or shared care environment, labeled patient-specific parts and a clear cleaning protocol reduce confusion. Nebulizer accessories should not be shared unless they are specifically designed, reprocessed, and approved for that use. In most home settings, each user should have their own cup, mouthpiece, or mask.
A simple clean storage area also makes a difference. Once dry, keep the nebulizer parts in a clean container or resealable bag if the manufacturer recommends it. Store the compressor where dust is limited and airflow is not blocked.
Signs your nebulizer may not be clean enough
Sometimes the warning signs are obvious, and sometimes they are easy to miss. A sour smell, visible residue, cloudy plastic, or moisture that does not dry out normally can all point to a cleaning problem. Reduced mist output may also mean the medication cup has buildup inside.
For patients with asthma, COPD, or other respiratory conditions, an unclean nebulizer can be more than an equipment issue. It can affect comfort, treatment reliability, and overall confidence in home care. If you notice recurring problems despite regular washing, review the manufacturer instructions, replace worn parts, and speak with your healthcare provider if needed.
A simple routine that works
The best nebulizer cleaning routine is one you can repeat every time. Wash your hands, take the device apart, rinse and wash the recommended pieces, disinfect on the schedule listed by the manufacturer, and let everything dry completely before storage. Keep an eye on filters, tubing, and cups so you can replace parts before they interfere with treatment.
For home care and professional use alike, dependable equipment starts with dependable maintenance. If you need replacement nebulizer accessories or other respiratory care supplies, US MedResources helps make it easier to keep essential items on hand and delivered directly to your door. A few careful minutes after each treatment can go a long way toward keeping therapy on track.